
The situation this solves
With network devices it is not uncommon to need a configuration change and have no way to reach the device. A typical case: a fixed IP address was set in the Dragonfly long ago, then the router was changed and nobody updated the address beforehand.
For exactly this, the Dragonfly will execute a script found on a USB pen, a few seconds after the pen is inserted. No enclosure to open and no cable to the board.
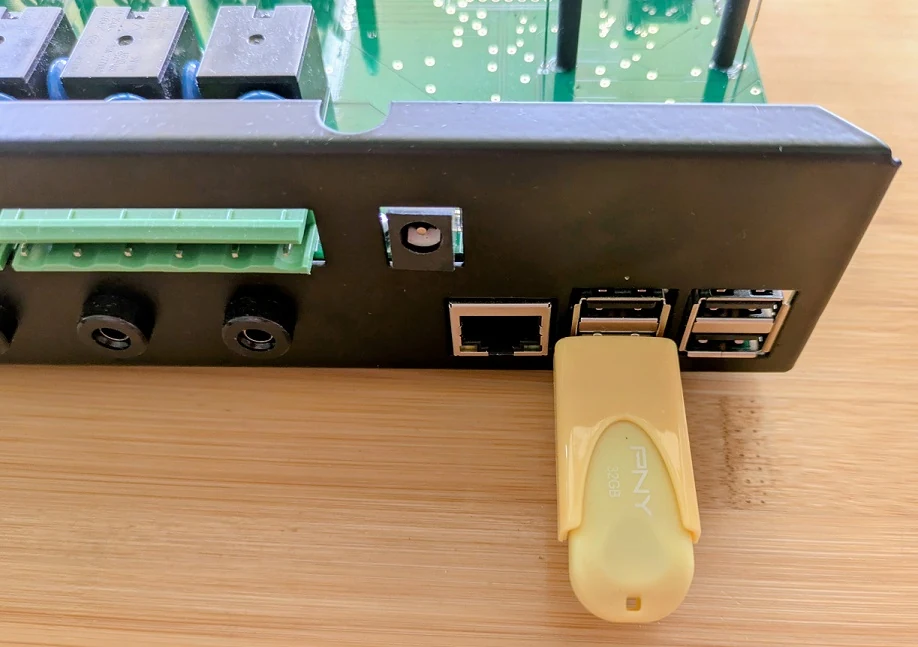
Back to automatic (DHCP) addressing
You will need a USB pen formatted in FAT32.
- Get the script. Download
dragonfly.txtand save it to the USB pen. - Insert the pen in the Dragonfly. Within at most 10 seconds it will change the network configuration back to DHCP.
- Wait about 20 seconds, then remove the pen. The Dragonfly should be rebooting by then. Once it is done, it will get an address the same way it did when factory fresh.
Updating without internet in the observatory
The same mechanism updates the software and the firmware when the observatory has no internet access:
- updatesw.zip—software update
- updatefw.zip—firmware update
In these cases extract the files from the zip archive, copy them to the USB pen, and check whether there is a readme file among them. If there is, please do read it.
More of these scripts get published as the need arises. If you find yourself needing one that does not exist yet, write to support@lunaticoastro.com.
The full description is in Executing scripts from a USB pen.