
Overview
This manual covers the Lanternfish's four modes, how to set it up for the first time and access your data, a few tips, and technical and safety information.
Lanternfish modes
To make things easier when we go over how to set up the Lanternfish and how to use it to achieve different results, let's quickly cover the different modes available beforehand.
Quick Mode
Quick Mode is the default mode. If you turn on the Lanternfish, it will show a "wait" message, and shortly thereafter the current sky quality. It will turn off after a bit. This is Quick Mode in action. You can also access it through the menu.
The readings taken in Quick Mode can be logged or not—this is configurable from the web interface.
Periodic Mode
Periodic Mode takes periodic readings for as long as you want it to. This mode is fully configurable from the web interface, such that you can decide how frequently readings are collected, and what makes the device turn off (when the sky gets to a certain brightness, after a certain amount of time, or never at all!).
All these readings are logged, and accessible from the web interface.
Configuration Mode
The Configuration Mode is part of the Lanternfish's web interface, and can be accessed via its access point or a Wi-Fi network. From it, you can access all the settings and information about your unit.
Remote Mode
The Lanternfish's Remote Mode is a combination of all the other ones. It's accessible, like the Configuration Mode, from the Lanternfish's access point as well as a Wi-Fi network, and includes all the features from the other modes combined, plus the option to access all the data and plot graphs.
We'll break it down later, but for now, know that from Remote Mode you can take instant readings (these are logged automatically), you can start and stop periodic recording, you can download the CSVs of the data and see summaries of them, you can plot and download graphs, and you can access all the settings and information that you can also access from the Configuration Mode.
Setting up for the first time
Configuring the Lanternfish
The Lanternfish can be accessed via its own access point, or via a Wi-Fi network. The first part of the process is the same for both of these scenarios.
- Press the button to wake your Lanternfish up. If you leave it, it will show you a reading and turn off after a bit. If you press the button again, you will access the menu (do that).
- Cycle to CONFIG and select it (short presses navigate through menu options, a long press selects).
- The screen will then show a QR code. If you have a device to scan it with, go right ahead. Otherwise, press the button again, and you'll see the name of the Lanternfish's access point (it will be Lanternfish_X, where X is the unit's serial number). Connect to it (no password is required).
- Once in, the screen will show a success message and the IP address to navigate to—192.168.4.1. Just open a browser and navigate to
http://192.168.4.1(you might not even need thehttp://, but if you're struggling, add it, as browsers tend to try to force https instead). You'll be greeted by a page like the one below.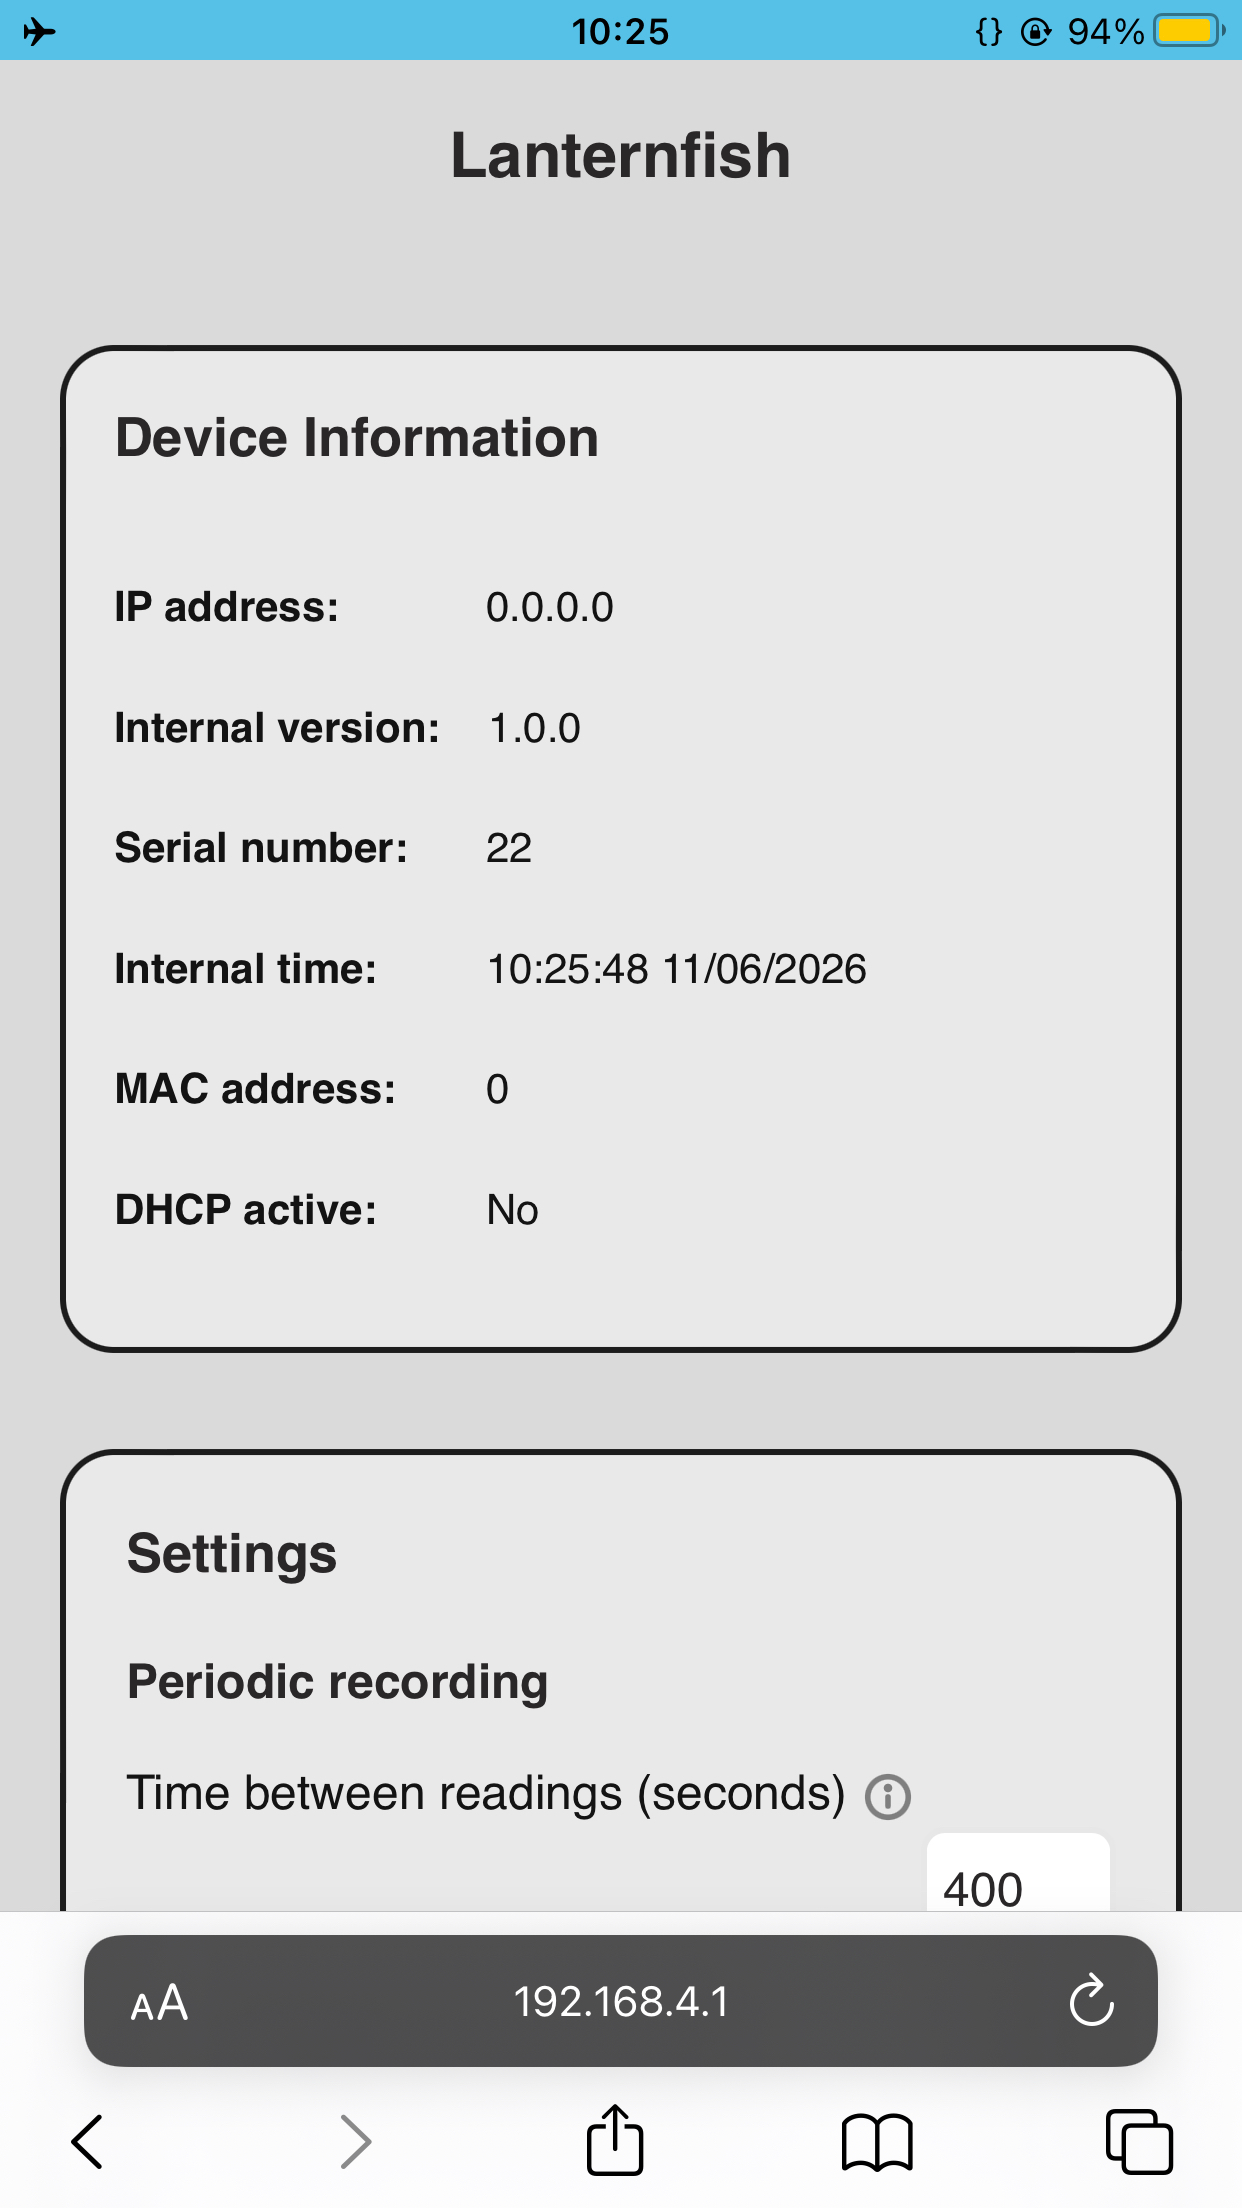
This is your configuration page. The settings available here are also accessible from Remote Mode (more on that below). Depending on whether or not you actually want to access the data stored in the Lanternfish, or just care about the readings in the moment you're taking them, this page might be enough. Take a look at the different available settings—they should be clear, and a lot of them include an information symbol in case you're not sure what they do.
Note: the Sky Quality reference value is the calibration value and is unique to each unit. If you choose to change this for whatever reason, you can find the factory calibration value by visiting
http://your-ip-address/slp/get/d/SQMFactRefVal. For information about how the Lanternfish is calibrated, see calibrating the darkness reference value.Remember to press apply at the bottom when you modify anything. A popup will show up on the bottom-right corner with feedback about whether or not the settings have been applied successfully.
Once you've modified any settings you deem appropriate, you're all set up for hand-held operation! But keep reading if that's not all you want.
Accessing your data
Chances are you'll want to see the data you collect. This can be achieved from Remote Mode. If you've enabled Wi-Fi STA and put in your Wi-Fi settings, once you access Remote Mode, simply navigate to the IP address on the screen from a device connected to that same network, and you will find yourself facing the Lanternfish's homescreen.
If not using the Wi-Fi network, just connect to the Lanternfish's access point and access 192.168.4.1 like before—you'll see the homescreen, instead of the configuration page.
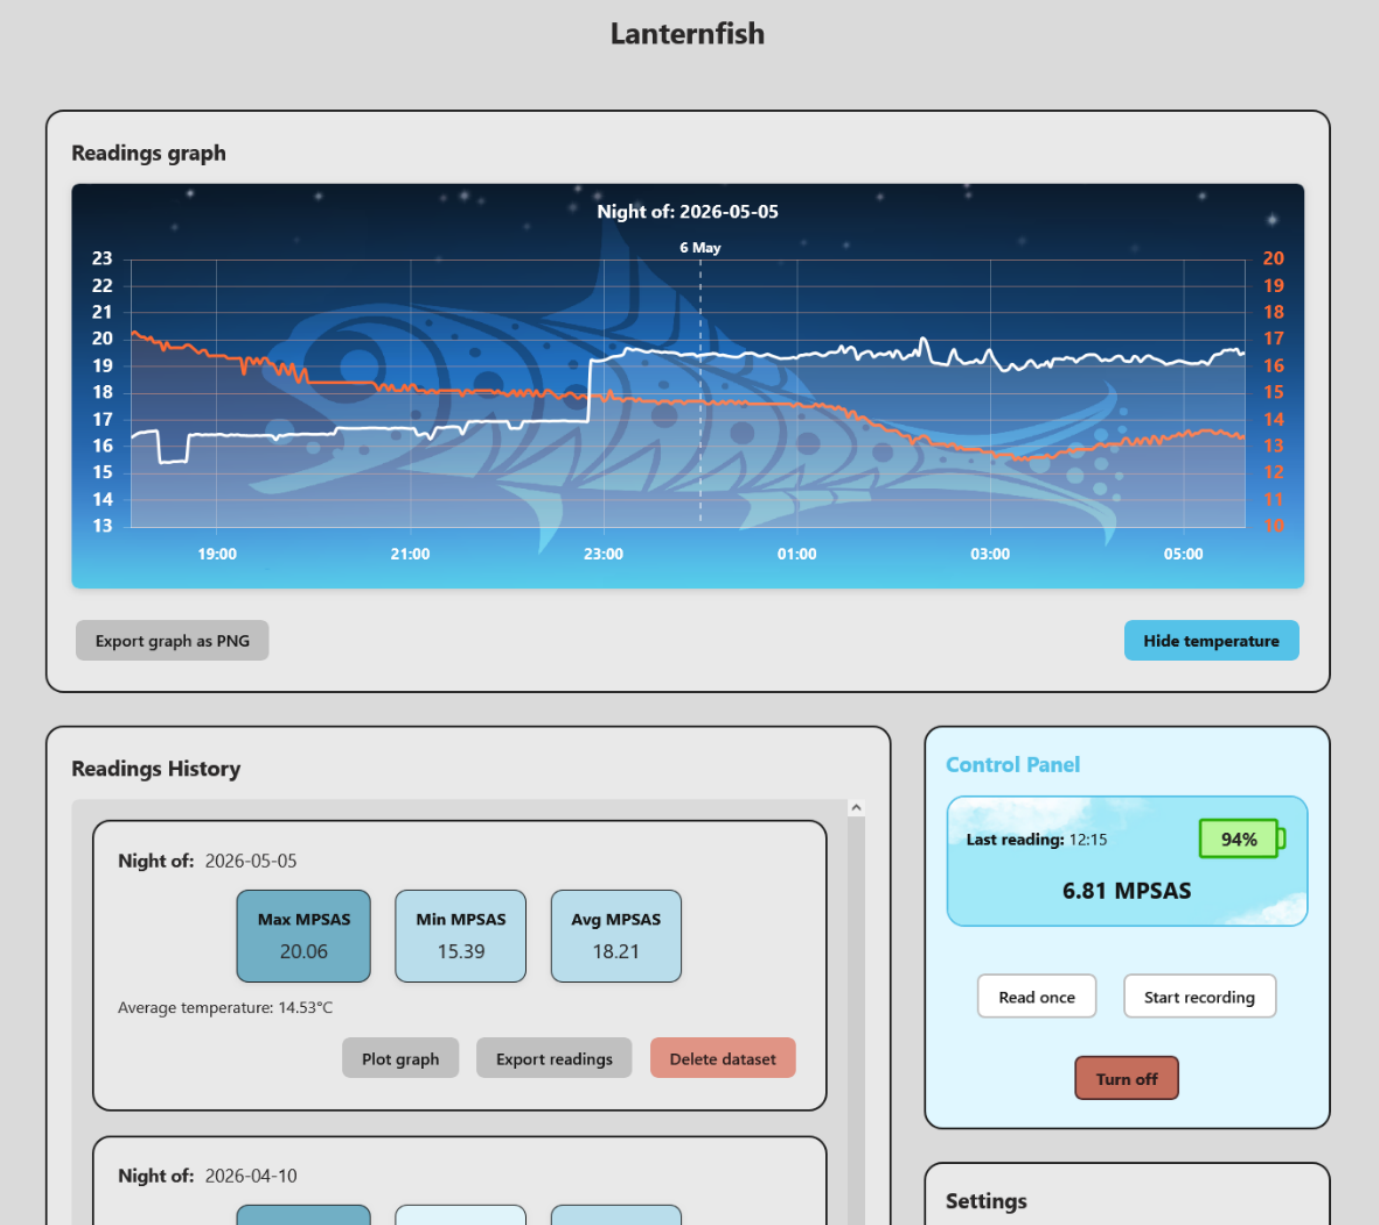
Here you can see the graph for the most recent dataset, and you can scroll through the datasets and plot any graph you like. If you click on the graph, you'll be redirected to a page where you can see it in fullscreen. You can scroll to zoom in and out, and hover over points to see their value.
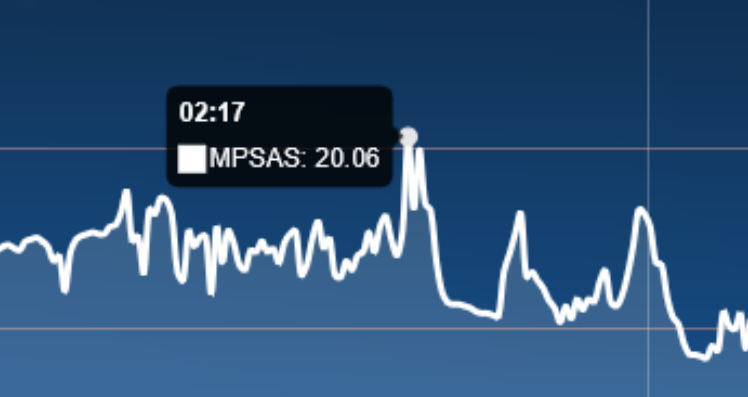
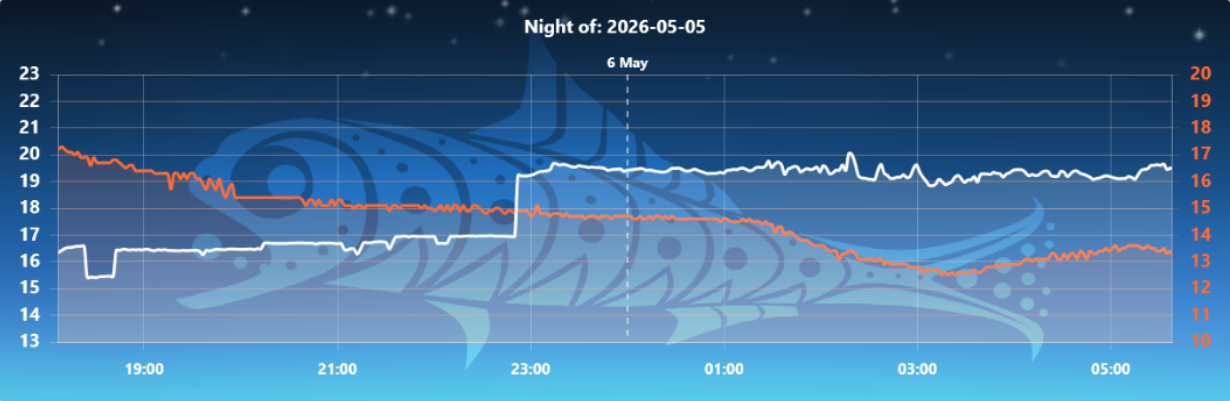
There are buttons—both here and on the homepage—to download the graph as a PNG and to toggle/untoggle the temperature readings.
Note: the temperature value refers to the temperature of the Lanternfish, which is related to but isn't the ambient temperature.
Head back to the homepage now. Let's place our focus for a second on the Control Panel, the box with the light blue background.
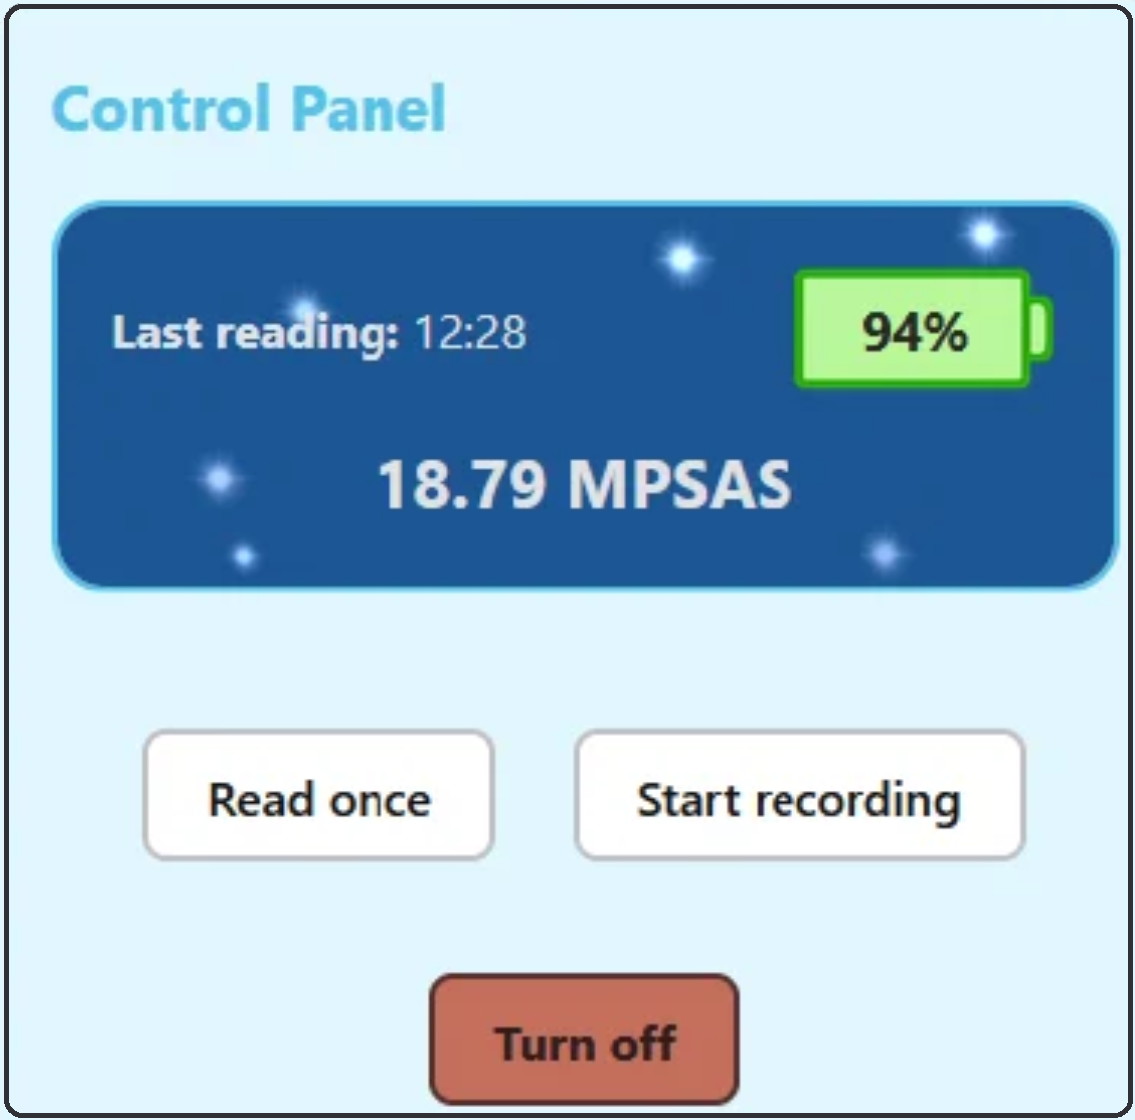
Here you can see the current sky quality (along with when this value is from), the device's battery, and options to read once and start periodic recording. You can also turn the device off from here (you'll need to turn it on by hand).
The readings taken by pressing "read once" or "start recording" will be logged by default. The "Start recording" option starts logging readings following the same settings configured for periodic recordings (except the stop triggers—to stop recording, press the stop button).
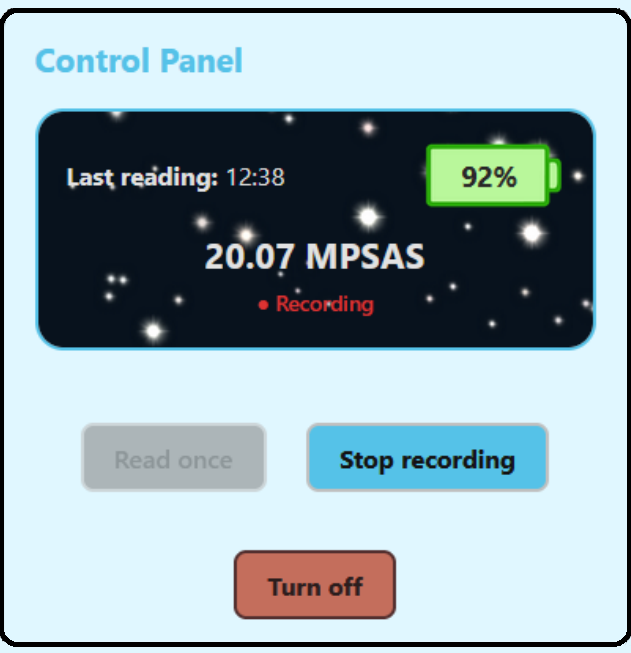
Speaking of the stop triggers—you can enable those to apply in Remote Mode as well. That is, you can make the device turn off automatically when the same MPSAS value is reached or the same on-time is reached.
Most of the settings are either self-explanatory or carry with them a handy information sign you can press for clarification.
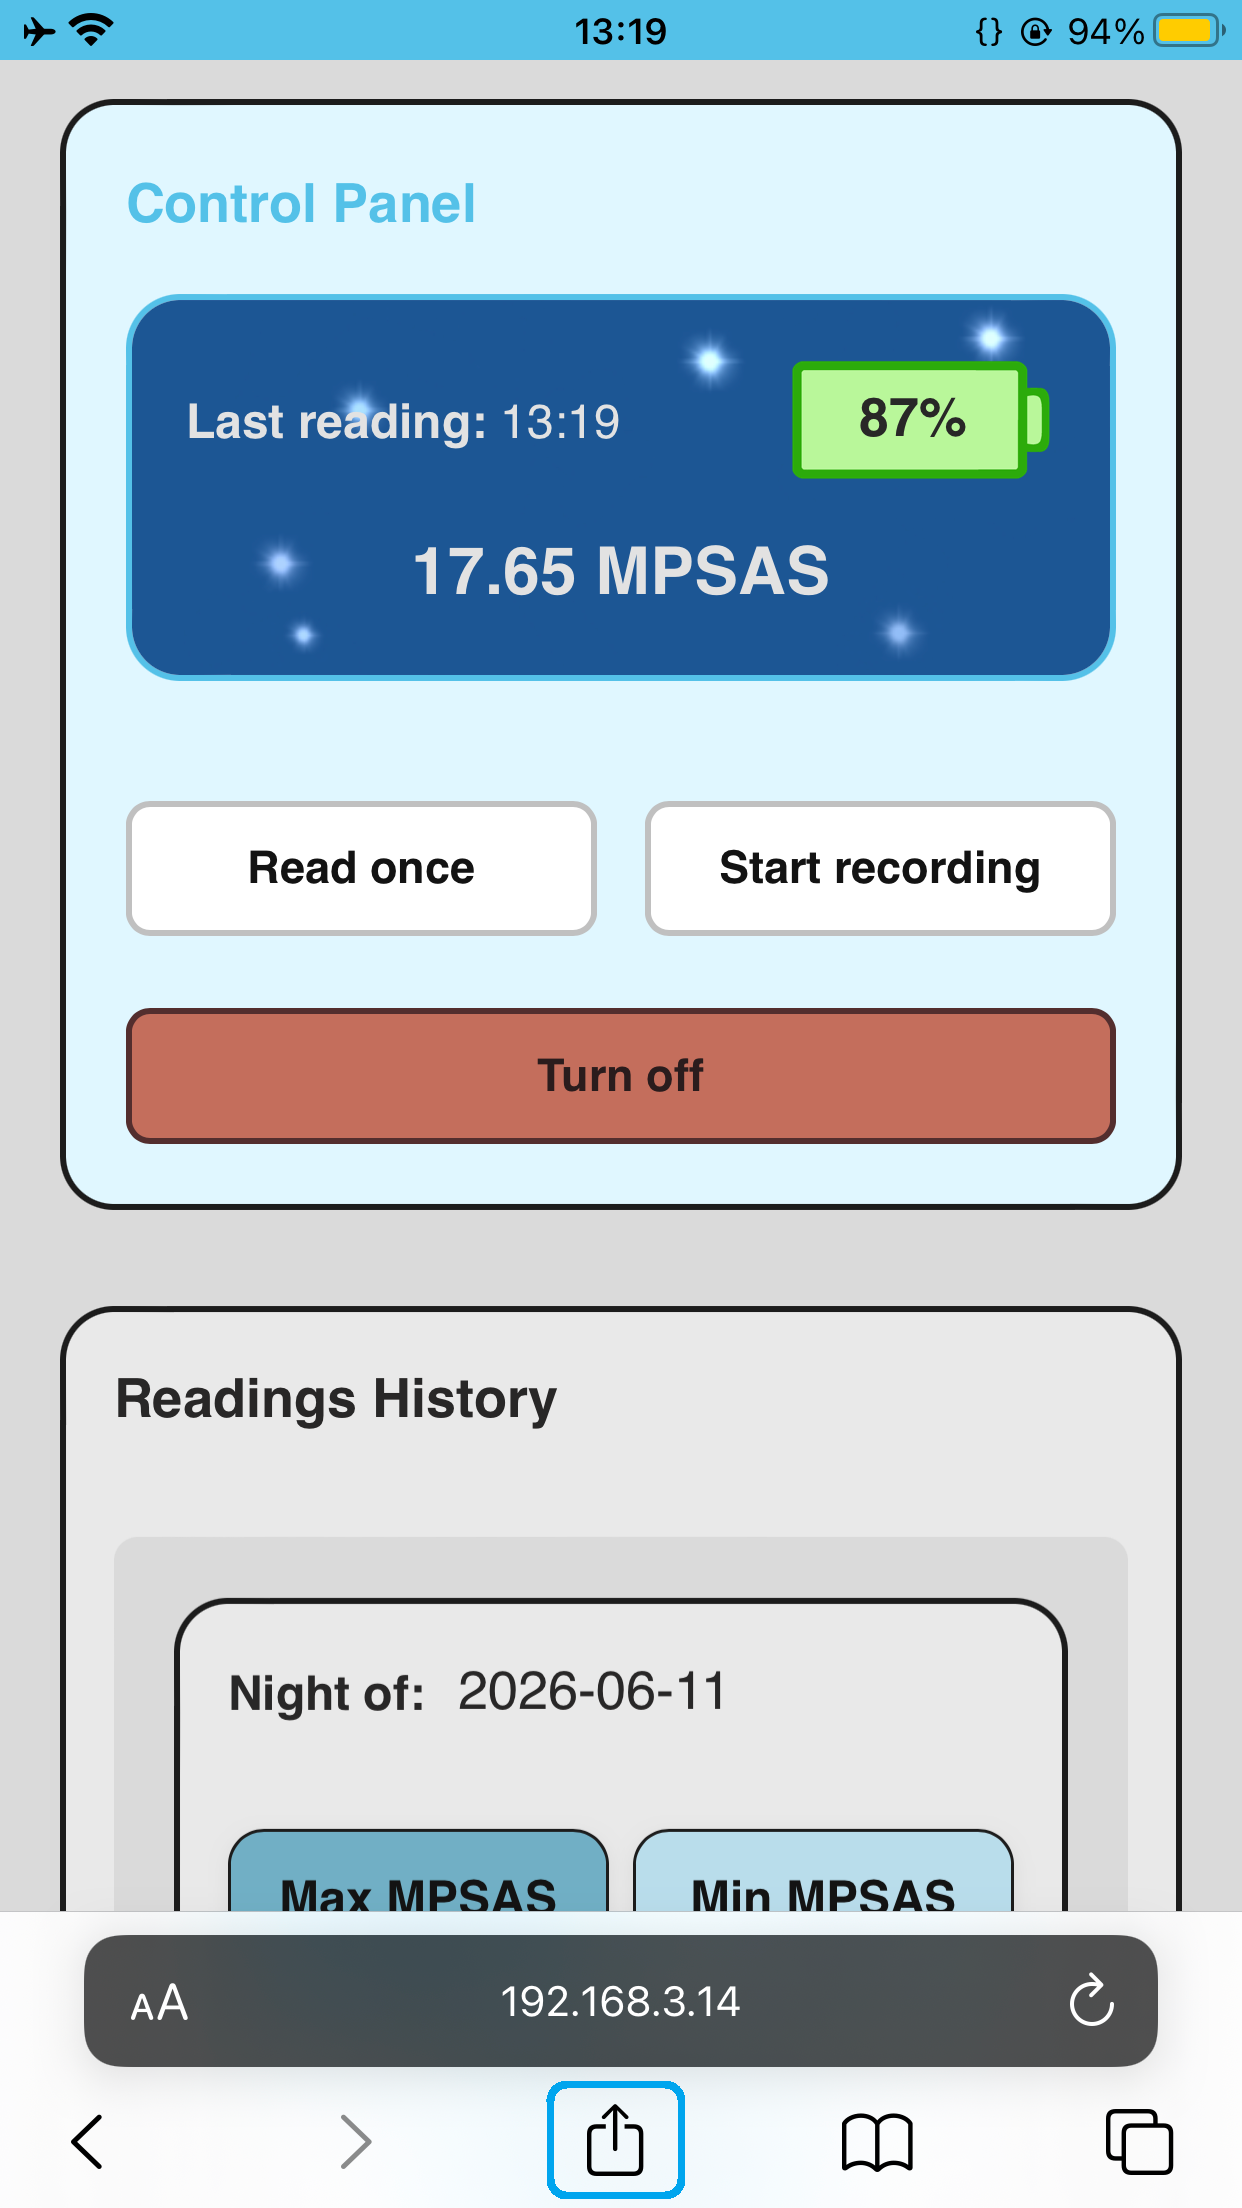
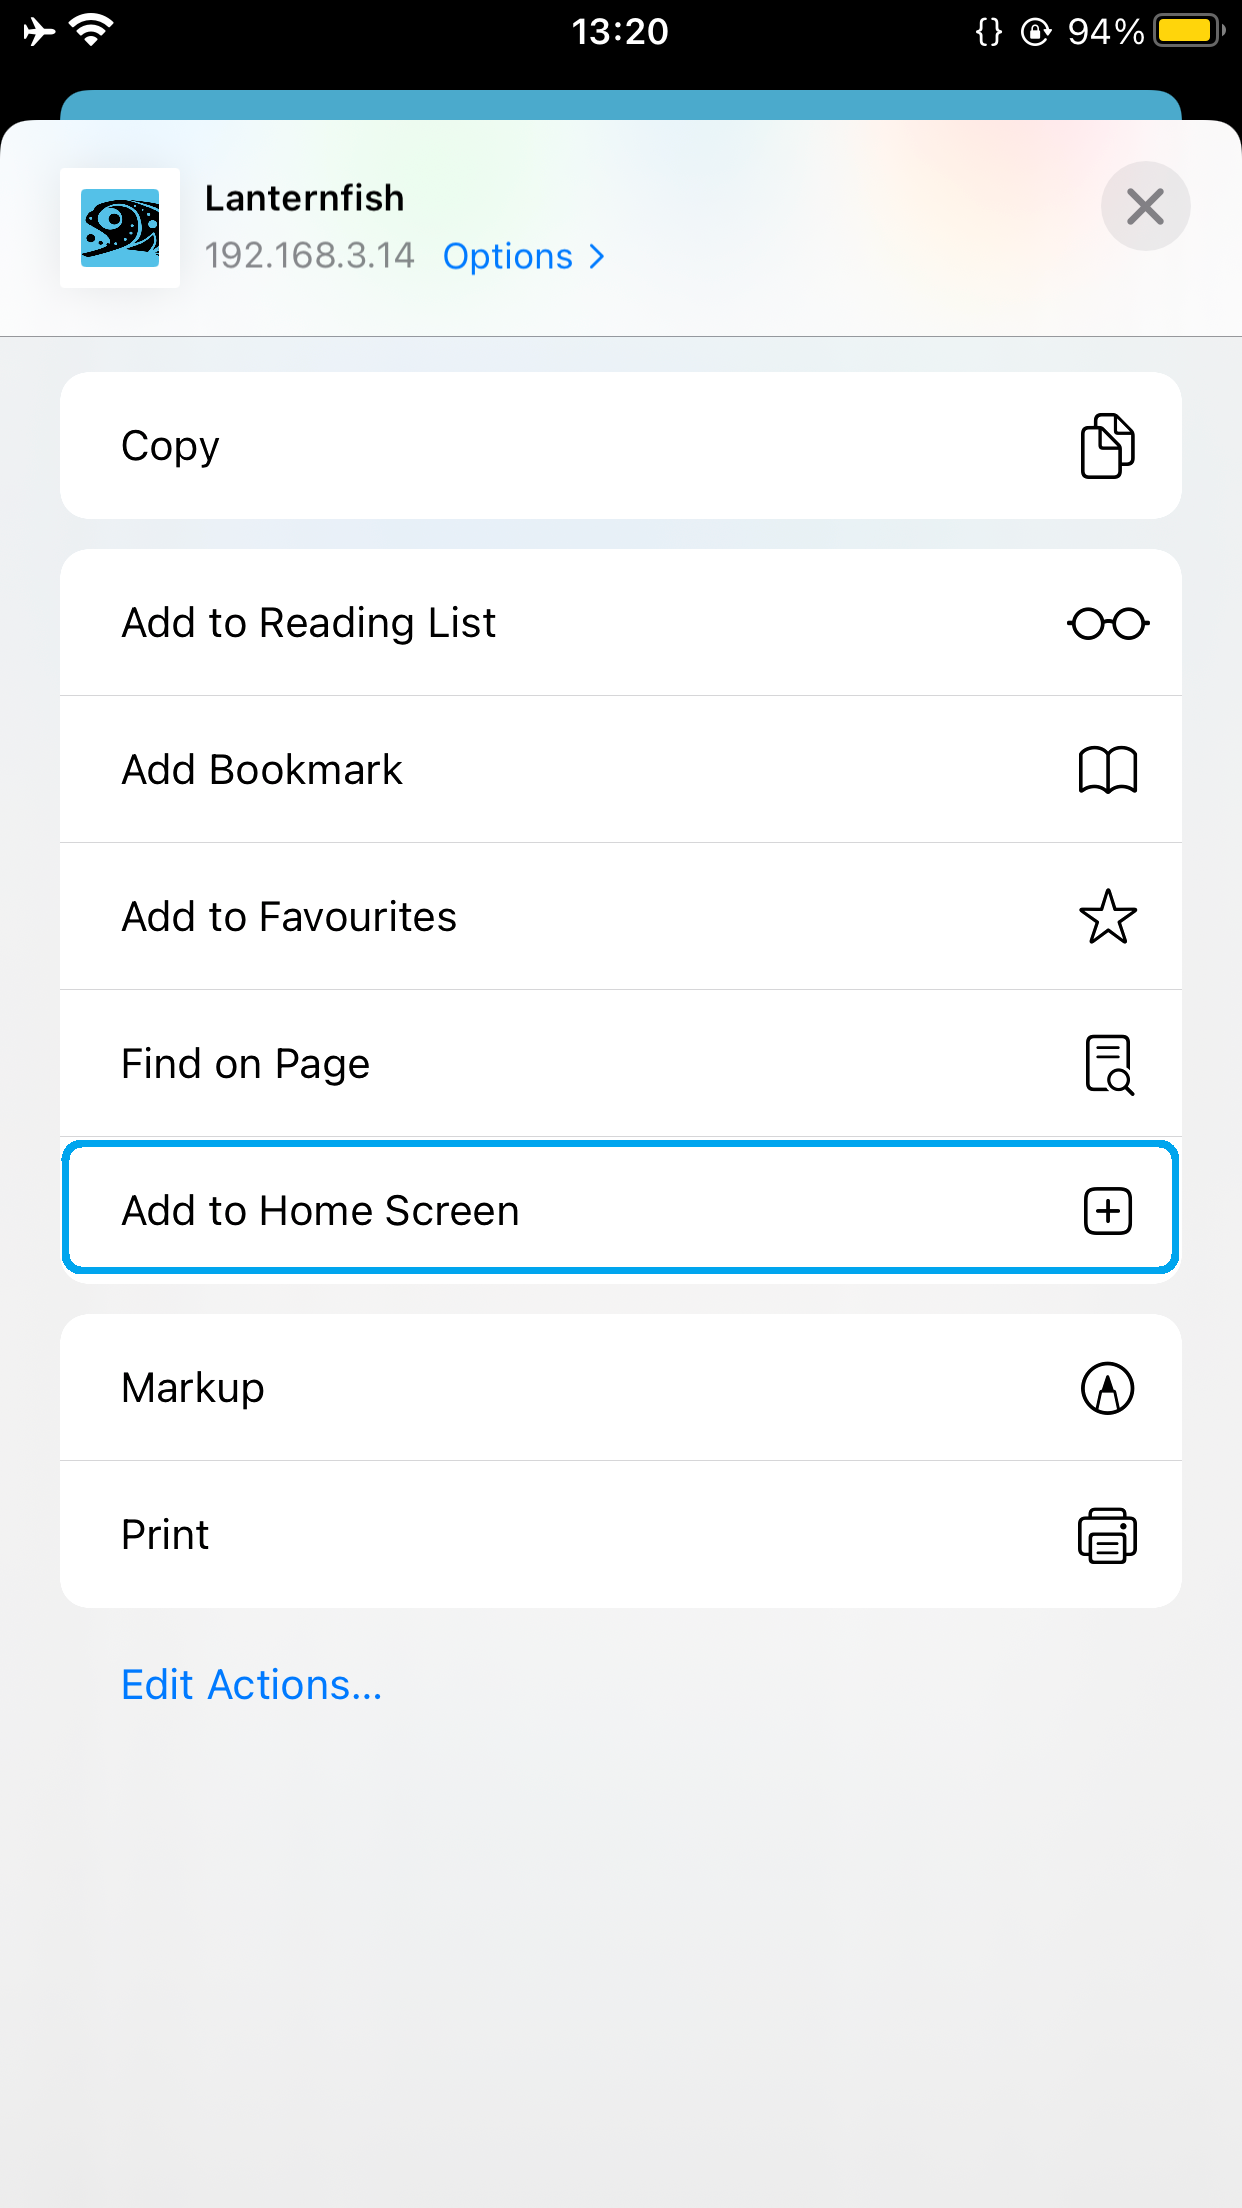
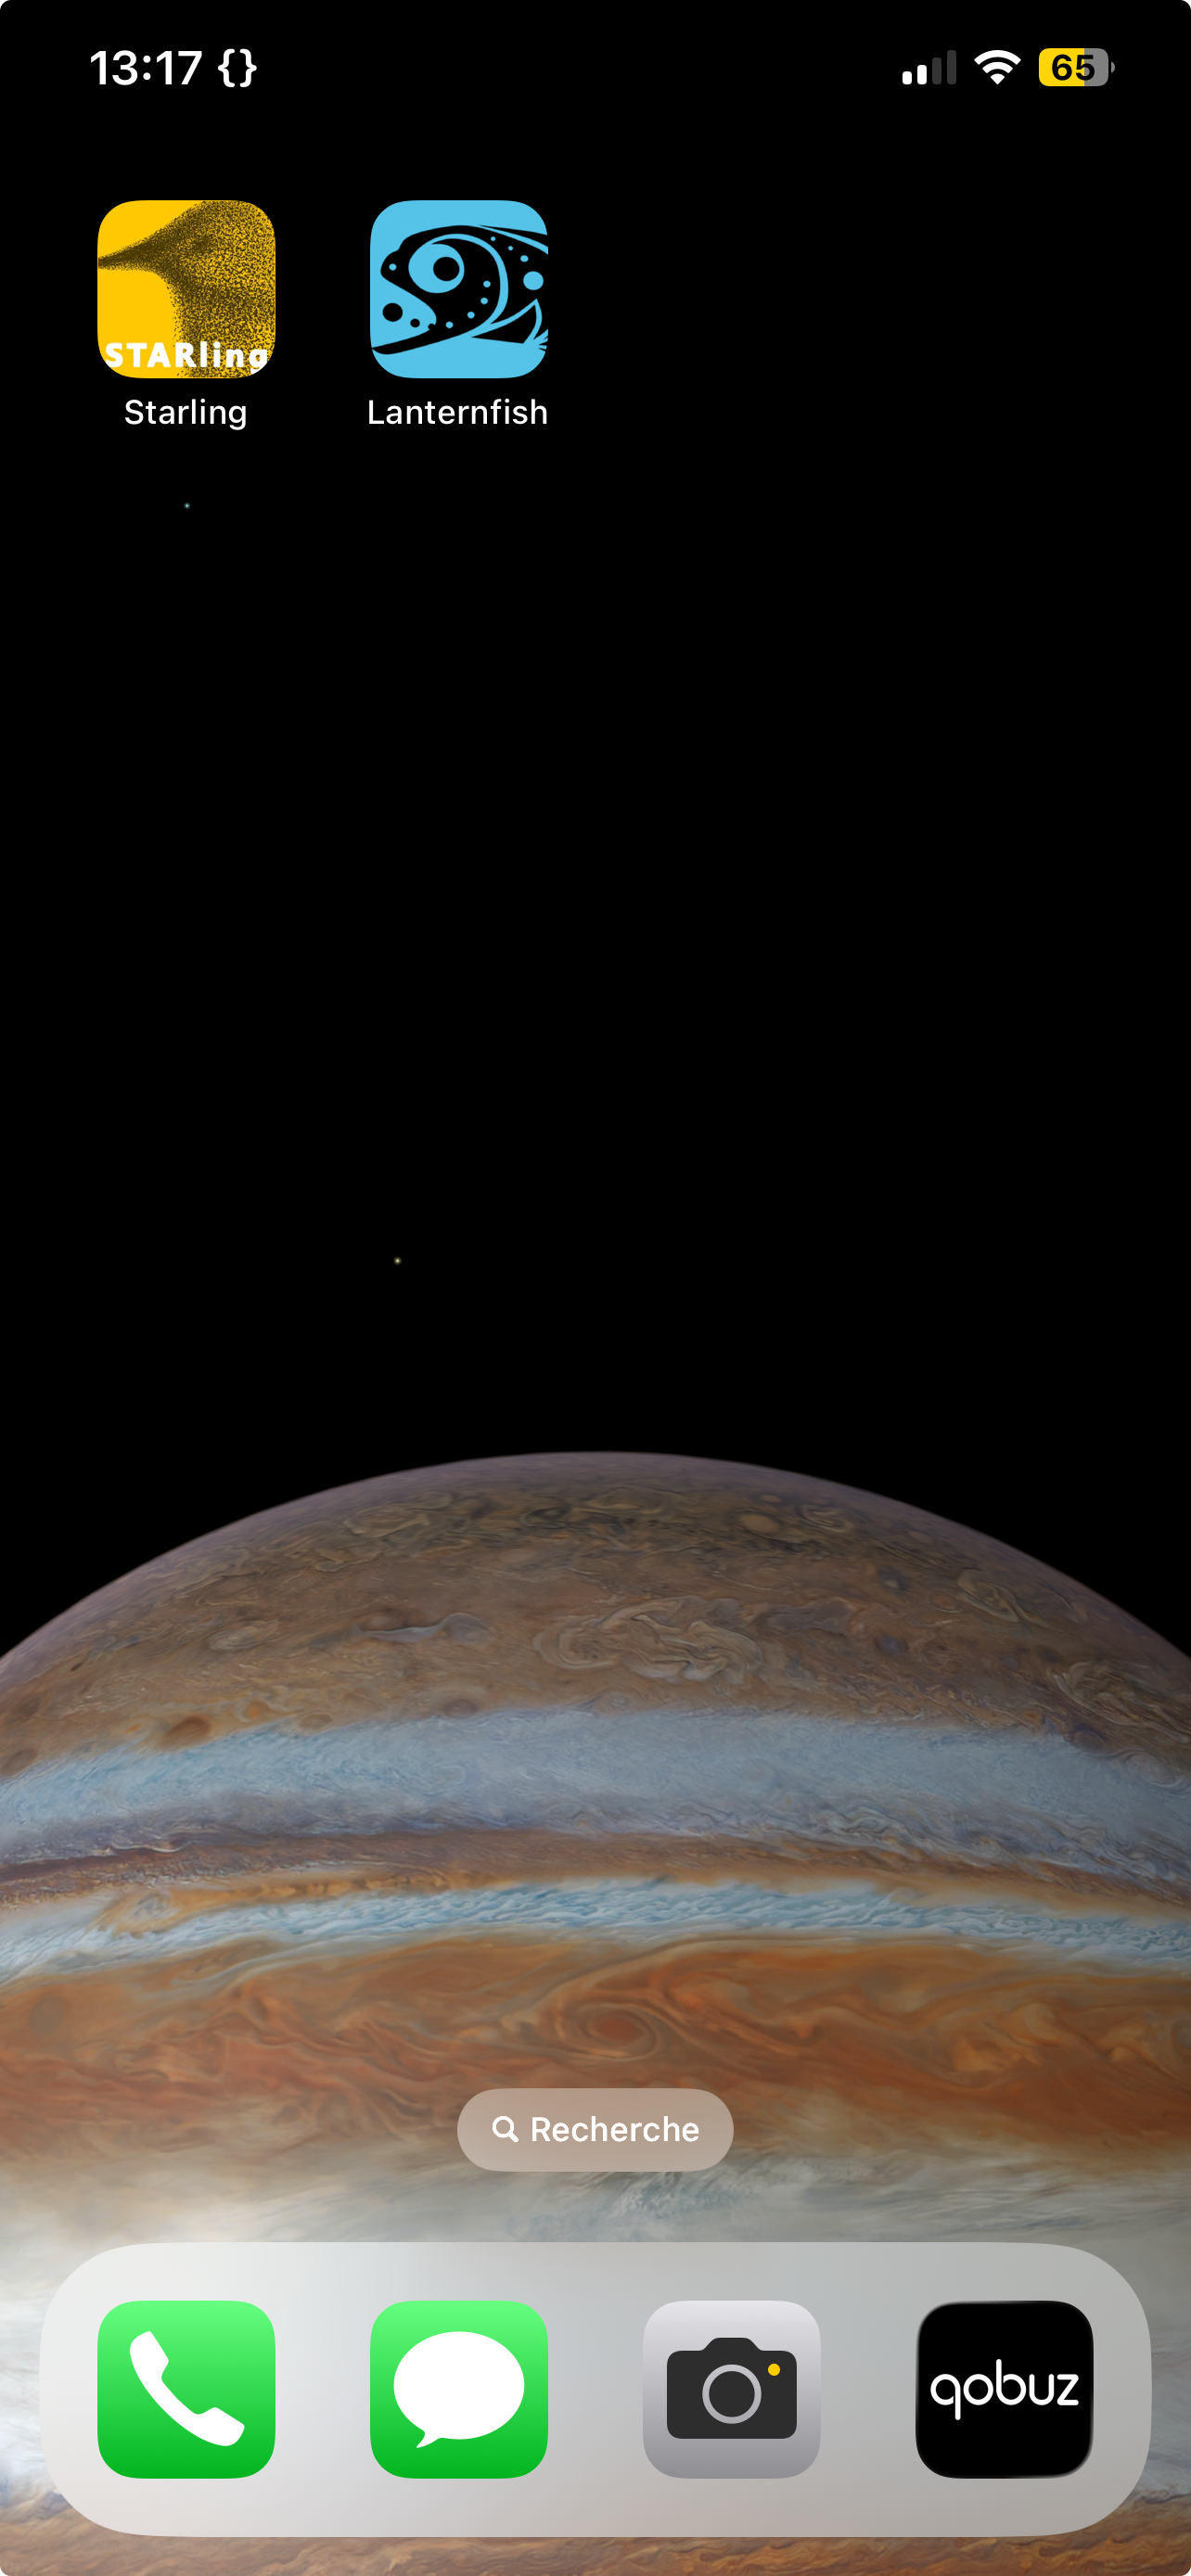
The interface varies slightly from device to device. If you're planning on using this page often from your phone or tablet, why not pin it to the homescreen so it's as accessible as an app? When working through your network, this'll work extra well if the IP address is always the same. You can disable DHCP and set up a fixed IP address from the settings. If using the access point, you just need to be connected to it when pressing the icon.
The way to pin it varies between devices and browsers, but it'll be something like:
Tips and notes
There's not much more to mention in this manual. Once you understand how to turn the Lanternfish on (pressing the button), access the menu (press it again), cycle through the modes (pressing), select a mode (hold the button down for a bit), and turn it off (hold the button down for a bit from any of the modes—you'll see the Lanternfish logo as the device is shutting down), and you're familiar with the web interface, this device is as straightforward as it gets.
- You can carry it to your prospective dark sky sites and point it up, press to access Quick Mode, and see the current sky quality.
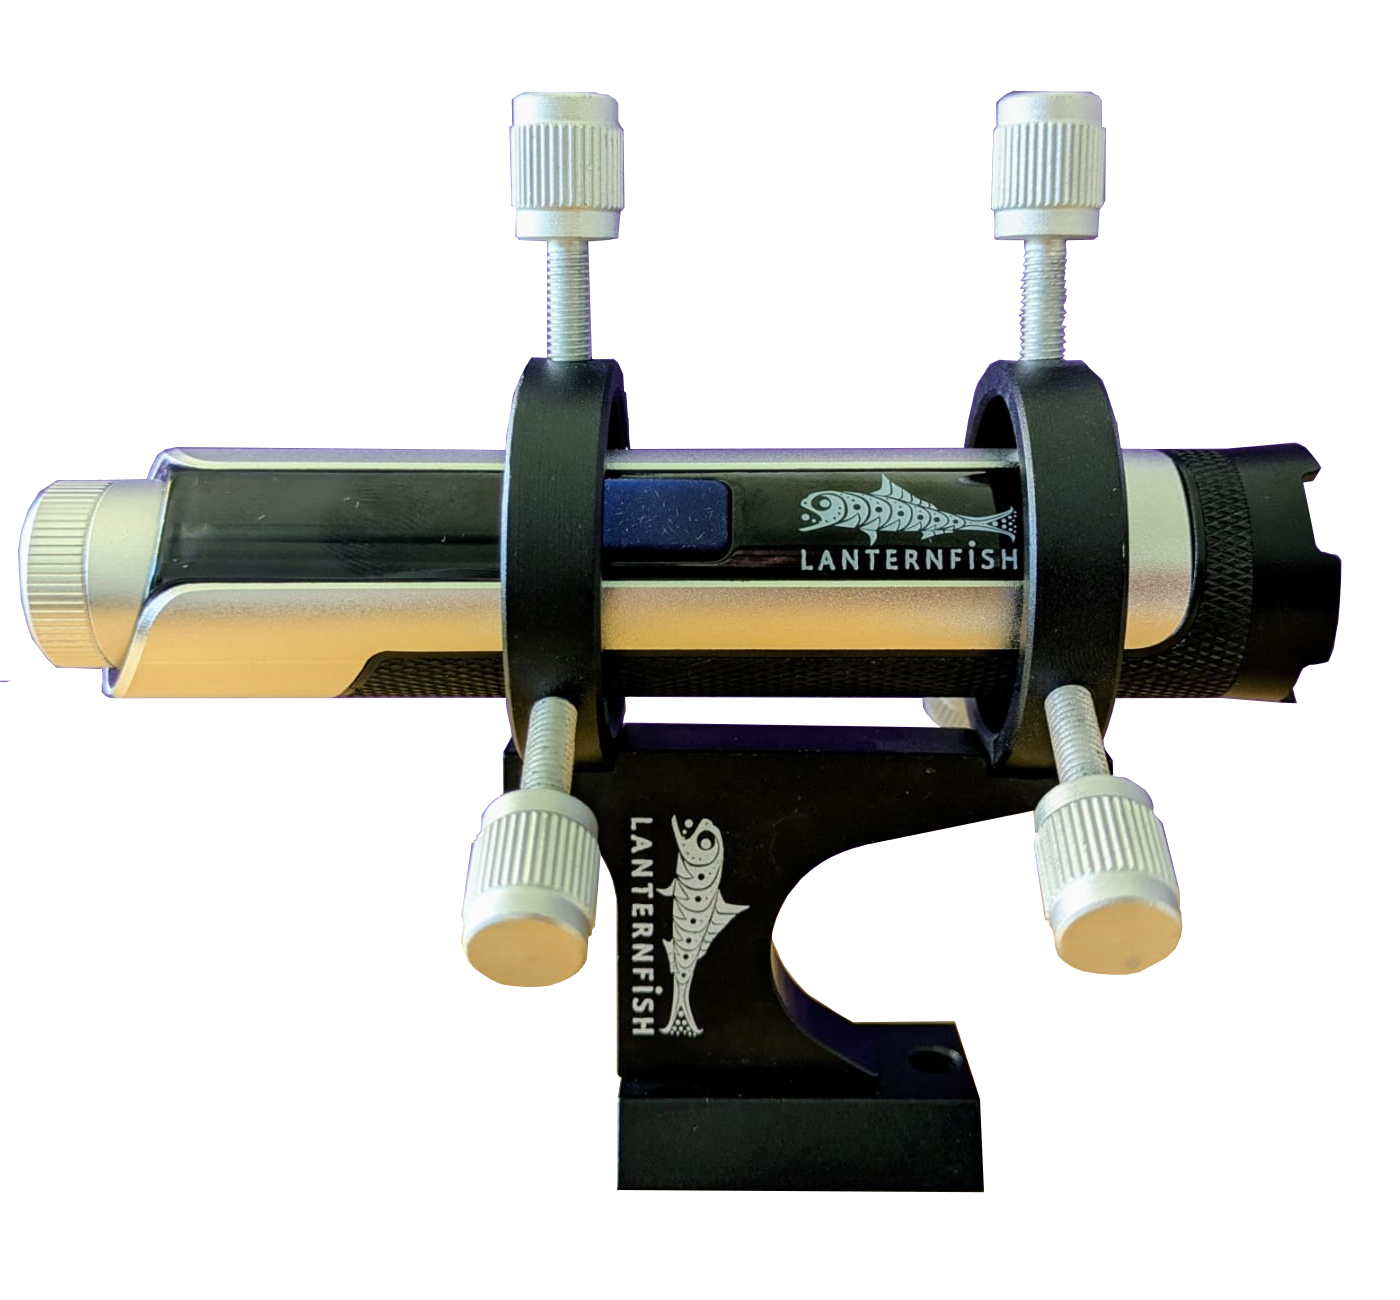
- You can place it on its mounting bracket on top of your telescope and leave it in Periodic Mode until MPSAS are low, so it takes readings throughout the entire night.
- You can connect to its web interface whenever you want to take a look at the data it's been storing.
- And you can, of course, leave it in your remote observatory, connected to power, and in Remote Mode, so if you can remote-connect to devices in your network you can access it as well, whenever you wish to.
There's a few things worth pointing out, though:
- Readings under 10 MPSAS aren't stored—they're just too low. But don't worry, if your Lanternfish is set to record, it will log any readings over 10.
- The Lanternfish is USB-C chargeable. The port is just for charging, though—to access the interface you need to connect to its access point or connect it to your Wi-Fi.
- It has a lot of storage space for the CSV data, but you can always download the datasets and delete them from the Lanternfish, so you never have to worry about running out.
- Since the web interface is accessed through third-party browsers, its behaviour isn't always fully predictable. If you're experiencing issues, settings haven't loaded, or the interface doesn't look quite right, try refreshing or hard-refreshing the page.
- Avoid having multiple devices connected to the Lanternfish at once. It can't handle that very well and may behave unreliably.
Regardless of its limitations, though, the Lanternfish doesn't need a network connection to reliably collect and store data. Even if, for some reason, you can't access the data at any point, it'll be safely stored in your unit and you'll be able to retrieve it whenever you can access its web interface.
Other information
Technical specifications
- Measurement unit: MPSAS (magnitudes per square arcsecond)
- Display: OLED
- Power supply: internal rechargeable Li-ion battery
- Charging: USB-C, 5 V
- Wireless connectivity: 2.4 GHz Wi-Fi
- Operating temperature: 0 °C to +40 °C
- Storage temperature: −10 °C to +50 °C
Maintenance
Clean the sensor window with a soft cloth. Do not use solvents. Store in a dry place.
Safety instructions
Device safety:
- Do not expose the device to water or excessive humidity.
- Do not open or attempt to modify the device.
- Use only standard 5 V USB power sources for charging.
- Do not use the device if the enclosure is damaged.
- Keep the device away from extreme temperatures.
- This device contains a rechargeable battery. Do not dispose of it in fire.
Battery safety:
- Contains a rechargeable lithium battery.
- Do not expose to heat, flame, or direct sunlight.
- Do not puncture, crush, or disassemble.
- Dispose of according to local regulations.
This product must not be disposed of with household waste. Dispose of it through appropriate electronic waste collection channels.
Didn't find what you were looking for? If you still need assistance, reach out to us on the forum or at support@lunaticoastro.com.